1st Assessment A3 cartridge paper pencil, charcoal, pen and ink, white gouache.

Well here we go after some genuine delays mixed with a generous helping of procrastination I have attempted the first assignment. My subjects were chosen as they all had different properties from square rough brick to soft cloth and from organic shell to manufactured reflective glass. My approach altered as the drawing took shape with the initial lay in done in pencil and some shading done with charcoal. I followed this with dip pen and ink trying to indicate form with the line as well as reinforcing the shadows. The next step was to go in with titanium white gouache to pick out lighter areas after tidying up some areas with fibre tip pen I spattered white over the image because … well honestly it just felt right and I wanted to.20190124_05124920190124_051311

I struggled a lot with the glass bottle and cloth. For me the real victory is getting to this stage.

Making Progress Exercises 3 & 4

Ok so after several minor breakdowns I’ve managed to get to the first assignment which I’m planning on tackling this week. So my work on the tonal mark making was a pretty mixed bag.

Exercise 3 various media in A4 sketchbook

20190113_155028

Used a variety of approaches here quite liked the short hatching and the dots.

20190113_155111.jpg

I decided to use a dip on the above image and apart from the perspective of the box being somewhat askew I found the use of hatching gave a very scratchy scruffy feel which worked well on the boot but less so for the glue bottle and box which were both very smooth surfaces.

Exercise 4 Shadows and Reflected light A2 Cartridge Paper, charcoal, putty rubber.

20190112_145848

20190112_145841

Reflective surfaces using charcoal and a putty rubber worked out better. Being able to lay in blocks of tone and then cutting into them with the putty rubber was a more satisfying technique than using hatched lines. Again the proportion was off on the mug however the exercise was to explore reflective surfaces and I think that turned out ok.

Ok on to the first assessment see you all soon and wishing everyone good luck in the new year.

Exercises 1 & 2

Exercise 1 Groups of objects. Two attempts both on A2 newspaper one using charcoal one using Blue oil pastel.

I managed to get myself twisted in knots over the course over the last month and achieved little, however thanks to the advice of my tutor and the encouragement of my fellow students I’m back on track. I’m posting a couple of exercises I’ve completed from Project 2. The first exercise I had a couple of goes at using newspaper to draw on. First of all with charcoal and secondly with pastel. I found using newspaper was liberating in the fact that it is so available and cheap that I didn’t mind taking chances with it  . On the flip side however it isn’t very robust and heavier use of the charcoal stick did result in a small tears. I also found that lighter lines get lost in the print which could be a benefit in some cases. There are also distortions most notable in the bottle i don’t know if that’s due to the newspapers lightweight texture and tendency to move as you apply pressure or the fact I’m not comfortable with the materials yet.

ex1

ex1a

I preferred the charcoal version but should have tried to put more detail in the bottle and tin labels. the other items were a denim jacket a book a cushion and an old work boot.

Exercise 2 observing light and shadow using blocks of tone A2 white paper, charcoal.

For project 2 Exercise 2 I have included a photo of the set up although the lighting was different when I began the drawing.ex2setupex2

Not accurate rendering of the items. The mug and bowl are both out of proportion and distorted, however, that being said I am happier with the tones and reflections in the bowl and to a lesser extent the mug. I found myself concentrating on whether I was looking at a reflection or shadow rather than light or dark and I think that approach was more confusing than helpful. Once I started looking purely for light and dark patterns it became easier.

Playing with ideas after exercise 1.

I decided to try and use the idea of mark making to add feeling to a picture and check out the results. I had the idea of depicting a punky character in a toxic environment and kept it simple. 20180909_160835

I used a piece of old card I found at work to add to the dystopian idea plus the fact it had some thickness allowed me to scratch into the surface adding to distressed feel. I used oil pastel, ink and correction fluid (I’ll use paint next time, the fumes from the correction fluid gave me a cracking headache!) I used the sgraffito effect to add some idea of light hitting areas of the characters top.

All in all I can see how the marks and choice of ground can enhance the mood of the picture and look forward to taking these ideas forward.

Exercise 2 Experimenting with mark making and texture.(Continued)

Back again still experimenting with texture.20180909_16073920180909_160816

I’ve been practising with oil pastel and found a useful video on youtube

and I enjoyed playing with the sgraffito technique the most.

The problem I’ve found with oil pastels are the stray flakes that are produced effecting areas on the surface I don’t want them to. I will continue practising with them and have purchased another brand to see if the flakiness is still a problem.

Starting Exercise 2 Experimenting with mark making and texture.

I started experimenting with frottage and found a lot of different textures at work and home.

20180828_20034320180828_200349

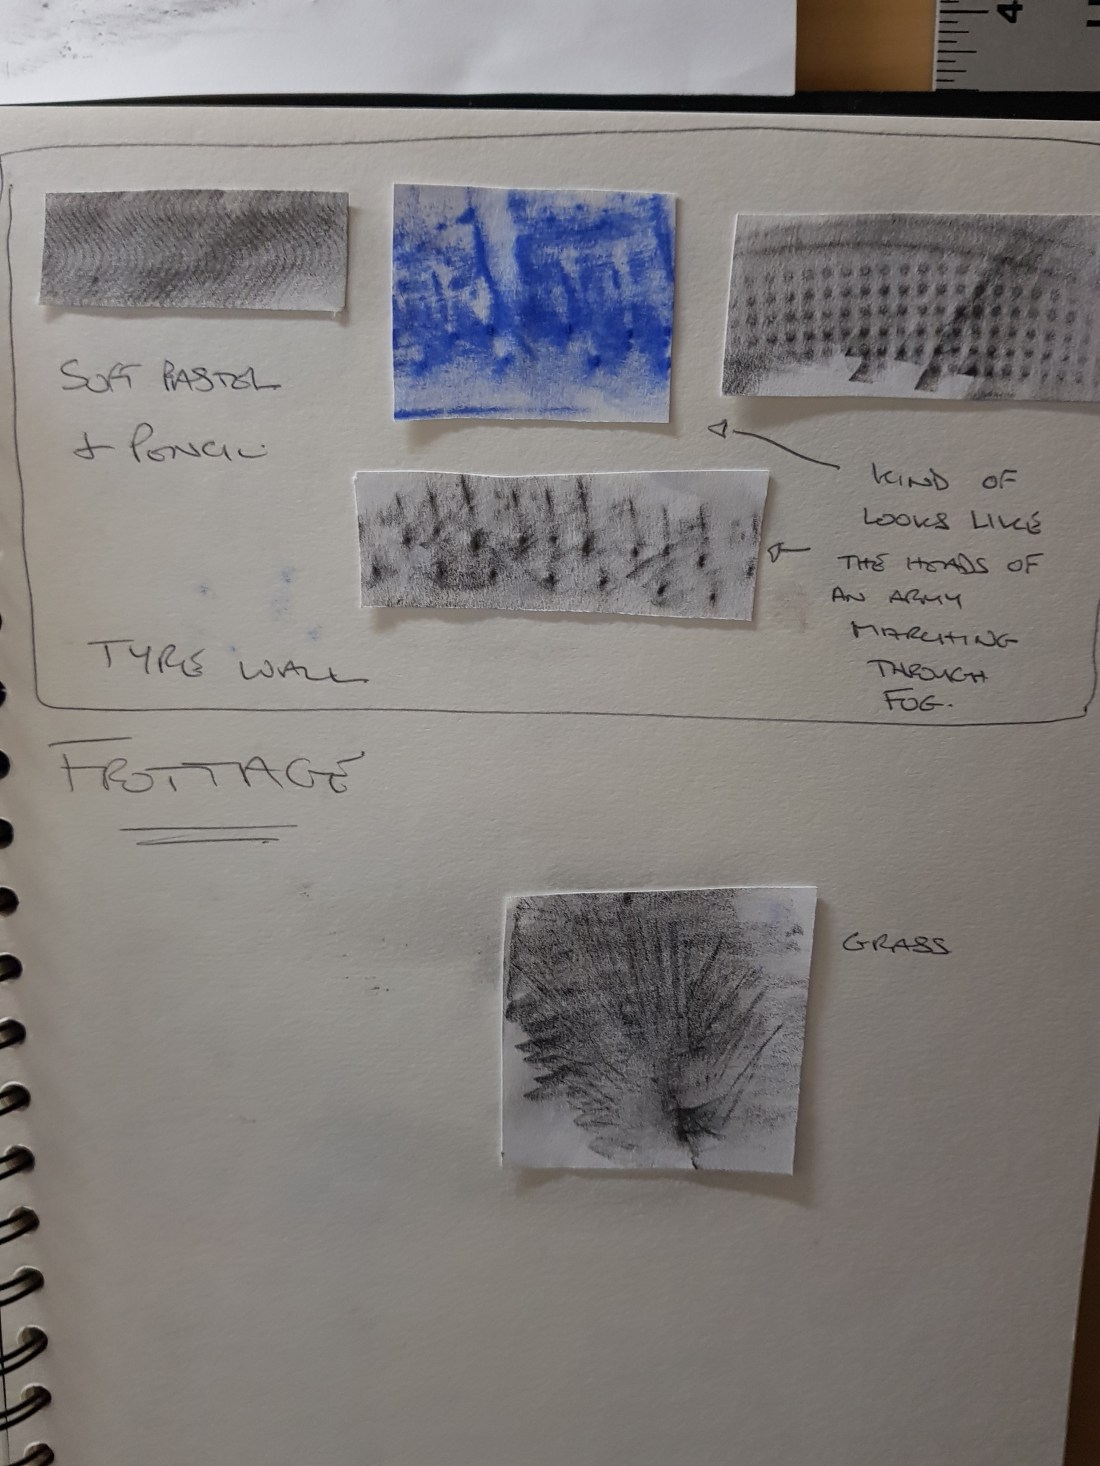
I tried pastel, hb pencil and charcoal for these experiments and found pencil gave the best definition. There were some interesting patterns on the wall of my car tyre somewhere I would never normally have looked. The concrete reminds me of a lunar landscape seen from above or maybe alien skin. I found that I enjoyed discovering textures this way and if I can recreate them using other media I can see how this practice could give my mark making far more scope.

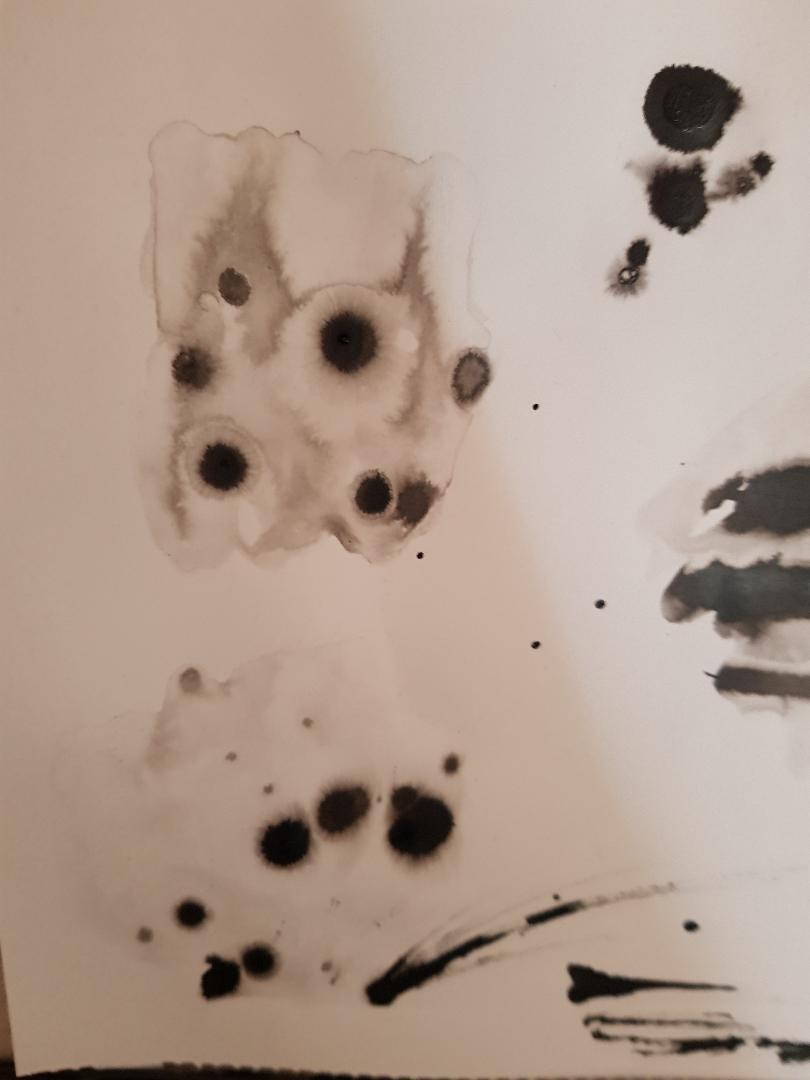
I began collecting a couple of items with different textures namely coffee granules and a fluffy knitted jumper to begin experimenting with  and wasn’t overly happy with the results.

20180828_200401


With the coffee granules I thought applying ink then sprinkling salt onto the ink pressing it into the paper and once the ink dried scraping away the salt would leave a granular pattern…it didn’t work I just ended up with a lumpy black shape. The pencil  line worked better but a little boring. The woollen fabric which had pulled threads in areas to give a fluffy texture was a little more successful and I think the white out over black ink was interesting as to me it seems to give an idea of layers better than pencil alone.

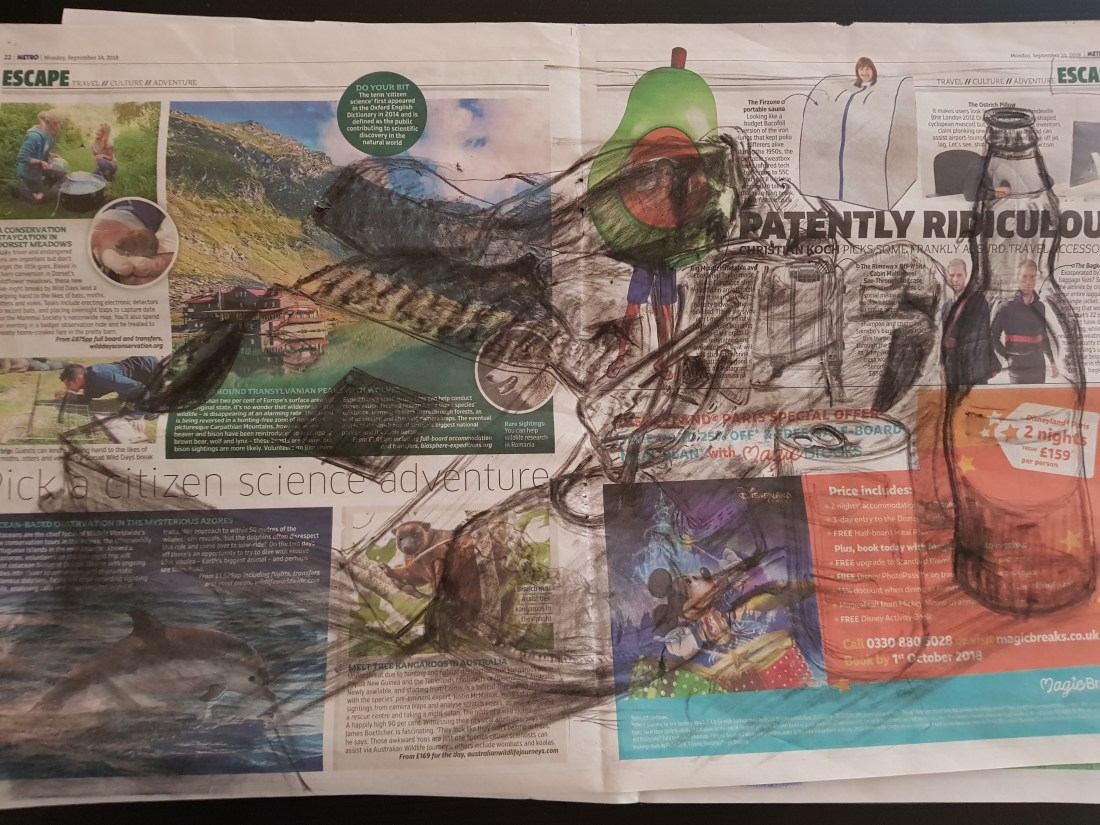
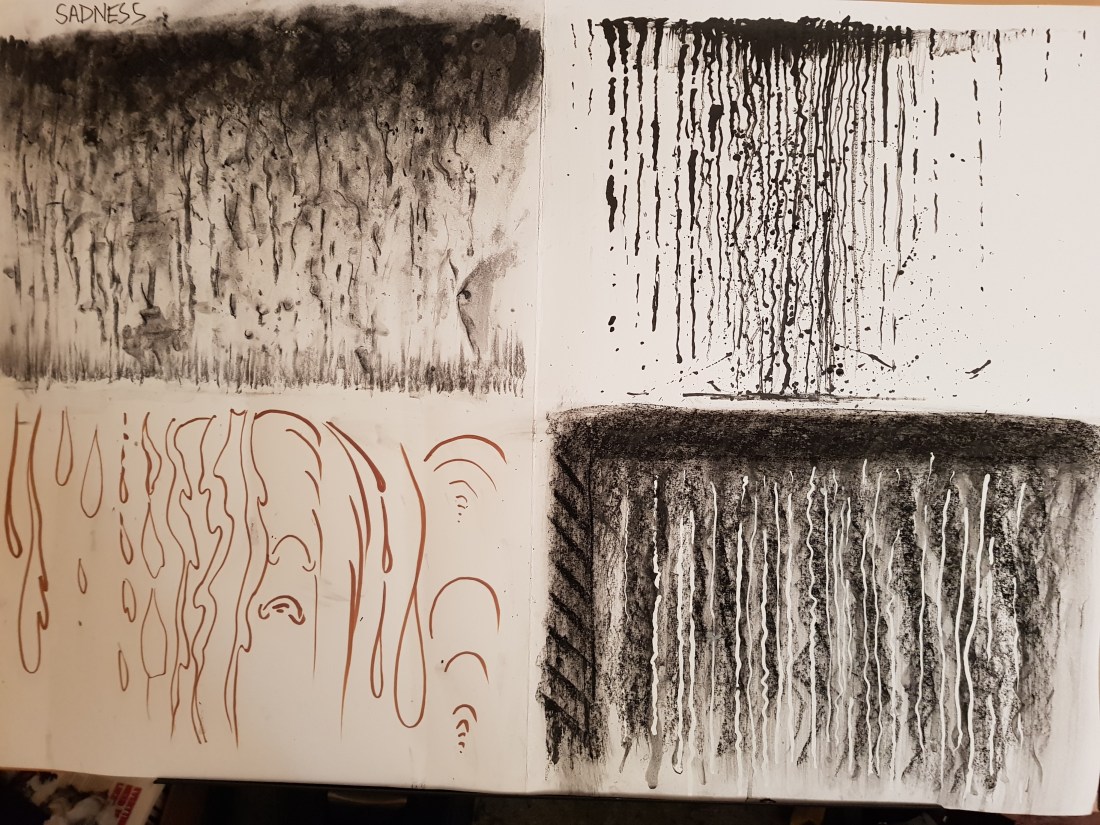
The black orange smudge was supposed to be the light and dark ridges of a woollen cushion cover but I soon realised that I need to understand pastel a lot better than I do at the moment. It does give a nice streaky effect when you smudge it though.

20180829_192958

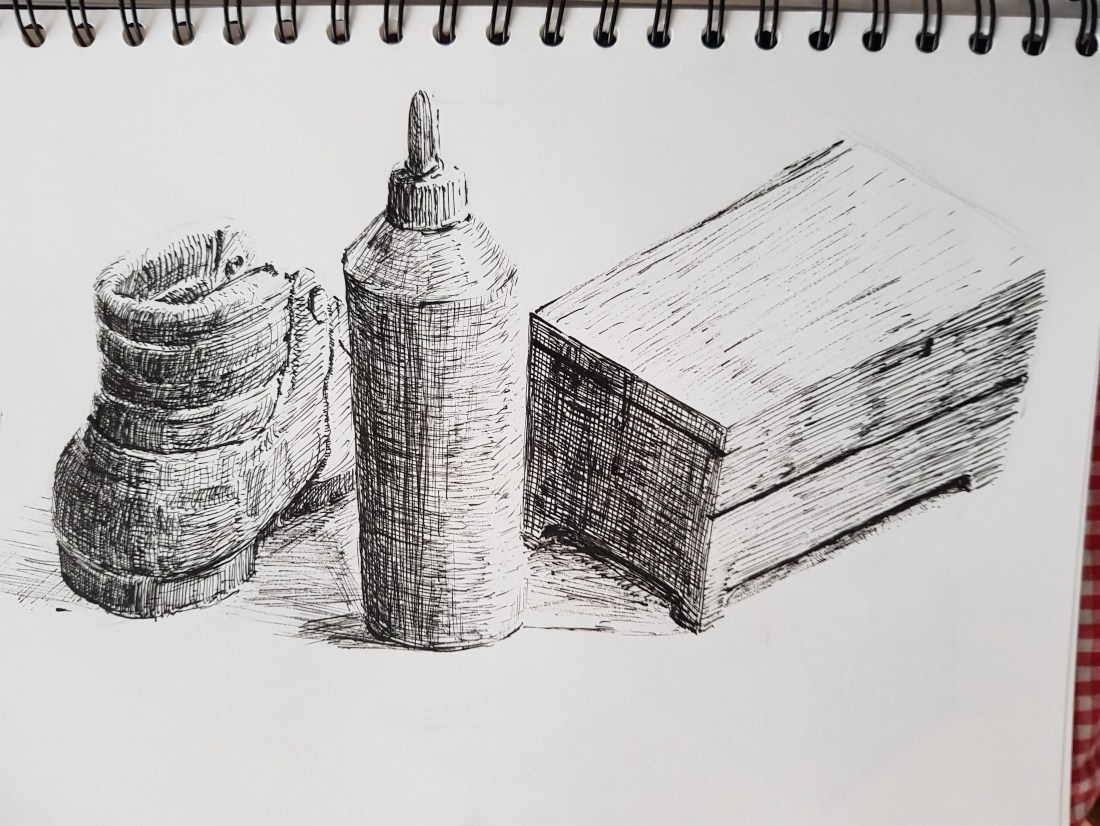
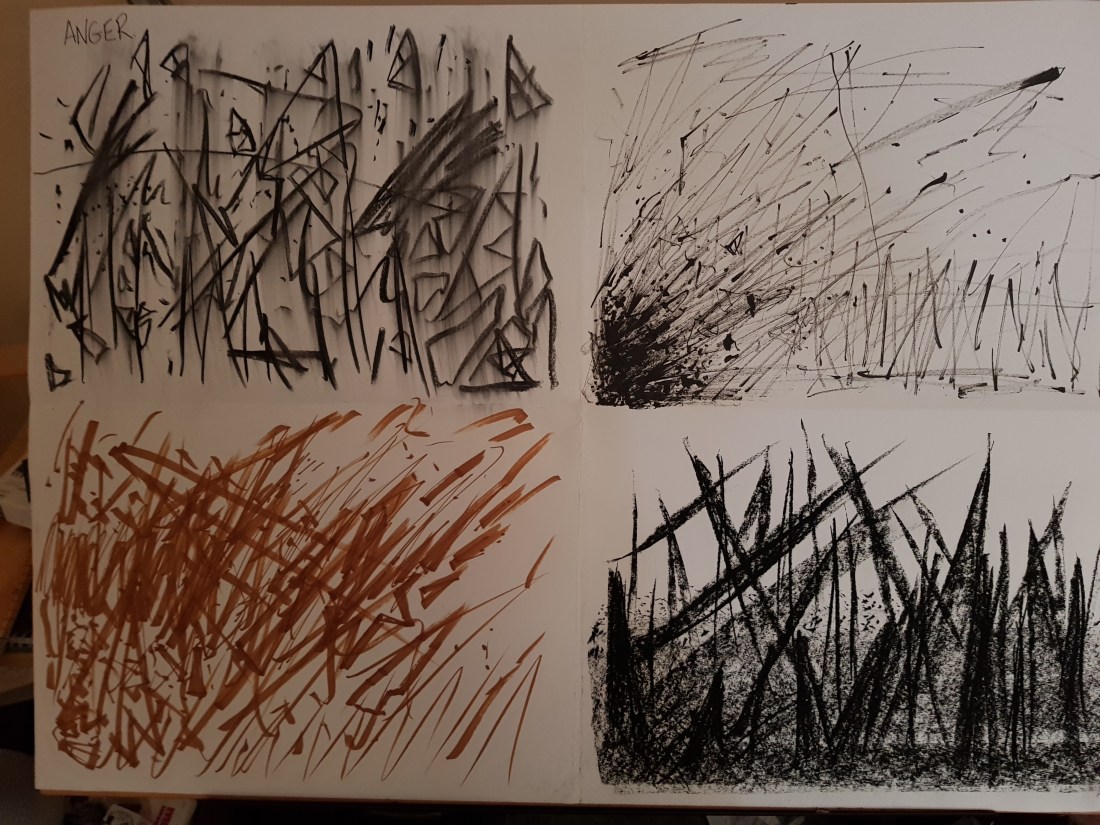
Finally I tried a wood pattern, a plastic bottle and then just allowed myself a little playtime making marks. One set of marks I really liked was from dipping an old battered toothbrush into ink and the dancing the edge over the page it gives a crazy spiky almost grass like effect.

What Have I Discovered?

I need to learn more about pastel techniques to use them effectively and have discovered some useful tutorial videos on the web which I will study and practice this week.

I think frottage is a good way to discover new textures to incorporate into the work.

Experimentation can lead to unexpected results which may be useful later.

Exercise 2 part 4: Sadness

To me sadness is a dark emotion and I also wanted to hint at tears. Three of the panels were interesting one was not successful at all and I gave up on that particular panel to concentrate on the others.   The first panel I used charcoal to show a cloud of misery and added drips of water which I smeared down the page before adding some harder dots and dashes to indicate the uncomfortable nature of the emotion. The ink and stick actually worked out better than I thought it would. I tried to show the episode of sadness from start to finish and got really busy with ink spatters and lines in the middle to show the trauma that sadness can bring. I found the marker was too accurate to express an uncontrolled emotion like sadness and I moved on to soft pastel. I cheated a little here and used white out to indicate tears. I also noticed where I wiggled the pastel on the left side of the page a pattern indicating a series of bars emerged. That gave me the idea of sadness as a prison so I went back in and reinforced the lines making them bolder and implying a view looking down on a cell. sadness.jpg


Exercise 2 Part 3 Joy

The emotion Joy made think of the idea of joy bubbling up and playful skipping lines.

The charcoal picture reminds me of an exploding party popper which wasn’t my intention but the more I look at it the more I see it.

The stick and ink drawing is far more bubbly but I’m not sure my use of the medium works it’s a little too scratchy.

The marker was interesting as I was using the soft brush-like nib to do the squiggly skippy lines the noise it made sounded like a squeaky giggle. I loved the idea of the pen “giggling” while I tried to indicate joy using line and got a little carried away putting lines in. I think it would have been better being left lighter in places allowing the bubbles to have more room.

The pastel was again using the bubbles of joy theme but this time coming through the darkness and technically I used two tools the pastel and a hard eraser to highlight certain bubbles.joy

Exercise 2 Part 1: Calm

I was apprehensive approaching this exercise coming from a more comic/cartoon approach to drawing trying something abstract like capturing emotion in a drawing is very much outside my comfort zone. I did,however, sign up for this course to improve my drawing and widen my experience of it so I steeled myself and boldly struck out into the unknown. The first emotion I decided to tackle was “Calm” with very mixed results.

Once I engaged with the feeling decided on what calm meant to me. A gentle smooth focus like a wave no sharp corners.  I chose a charcoal stick, stick and ink, a sharpie marker, and a soft pastel as my tools for this assignment.  In the main I believe I achieved this except for the stick and ink drawing which left me feeling anything but calm as I had precious little control over the tool I was using to apply the ink so gentle curves were out of the question. I decided to change my interpretation of calm to mean a single dot of focus in a sea of chaos…I don’t think it works very well but I did learn that a new medium can force you by it’s very nature to reinterpret your ideasex2Calm
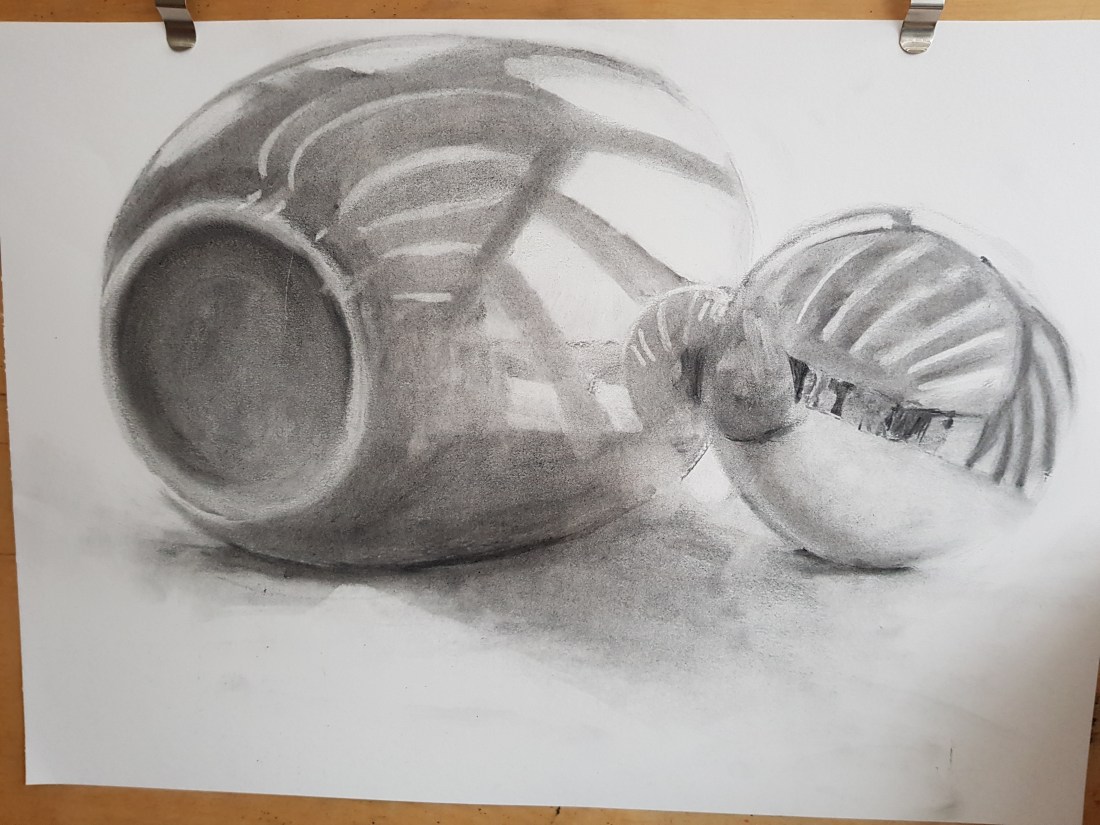
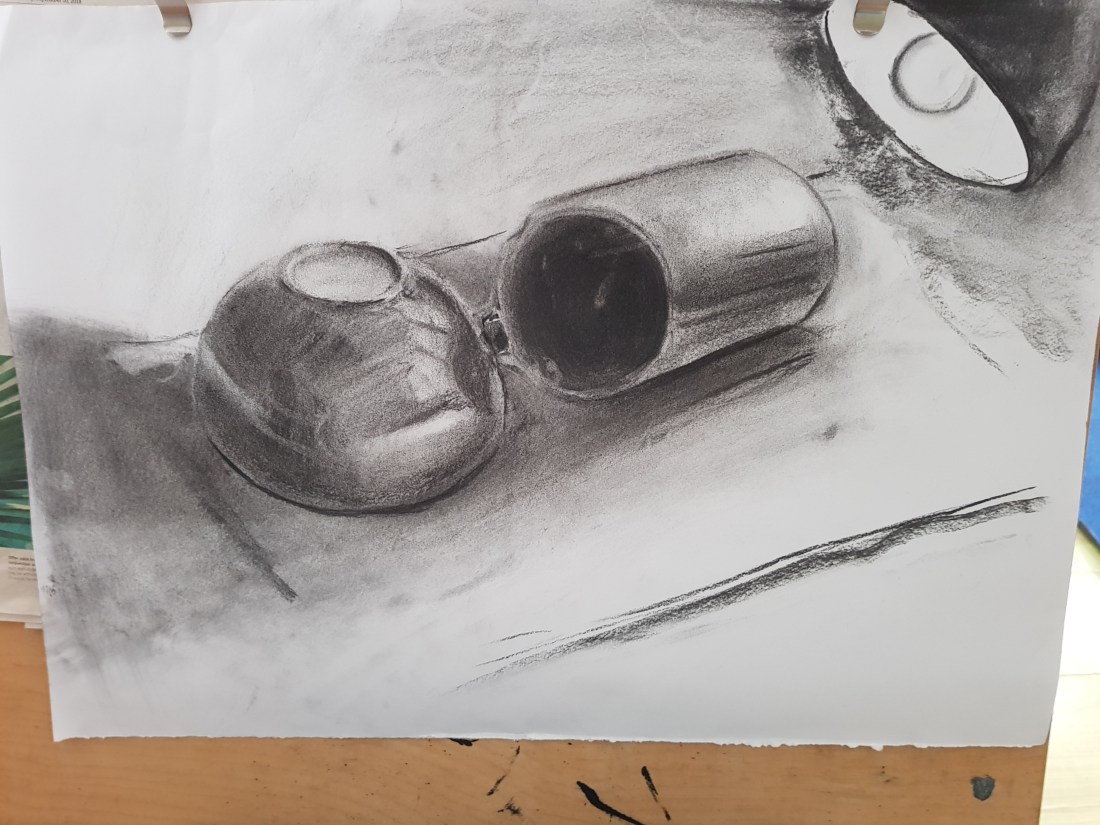
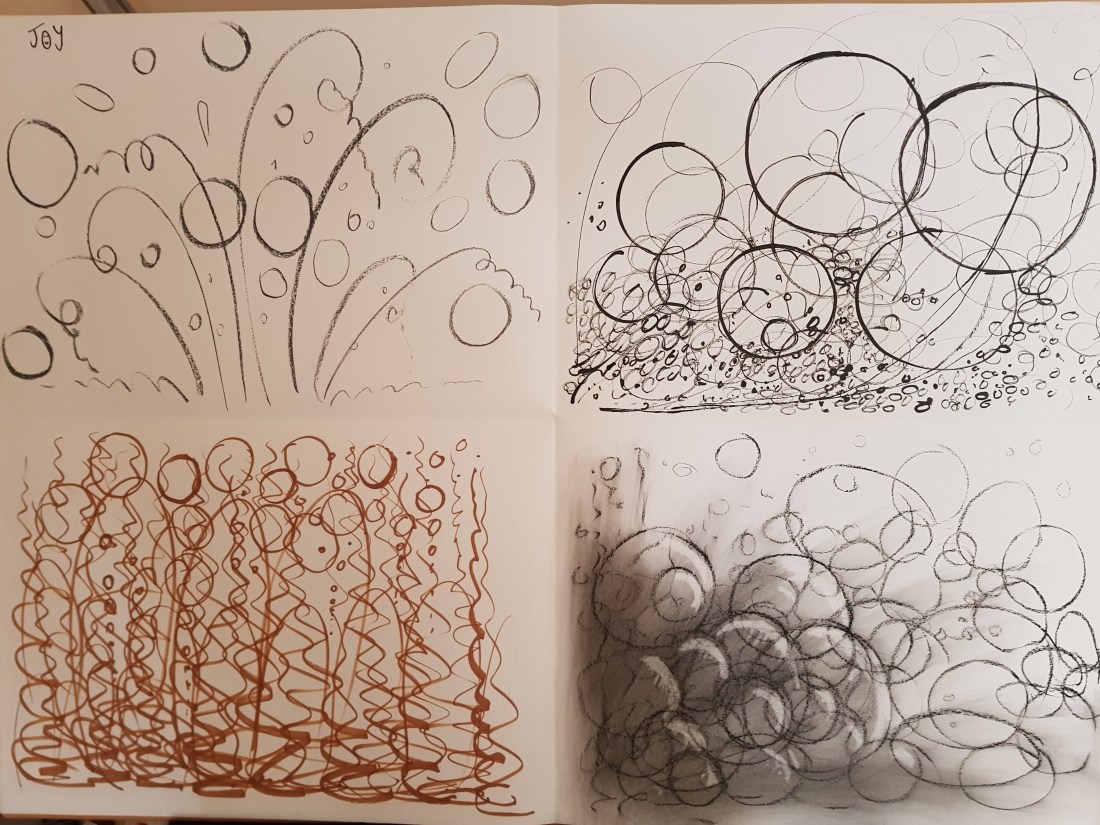
. I was happiest with the charcoal and pastel drawings as It allowed me to introduce soft tones into the work and to me soft (soft not weak) is another facet of calm.

Apart from the sharpie this is the first time for decades that I have used materials other than a pencil or pen and ink …it was fun.

I think I’ll tackle Anger next.